Getting Started with Rentquill
The full walkthrough — from creating your account to your first booking.
Rentquill covers the whole rental lifecycle: scheduling viewings, screening applicants, signing leases, collecting rent, and tracking maintenance. Here's how to get from a brand-new account to a working dashboard.
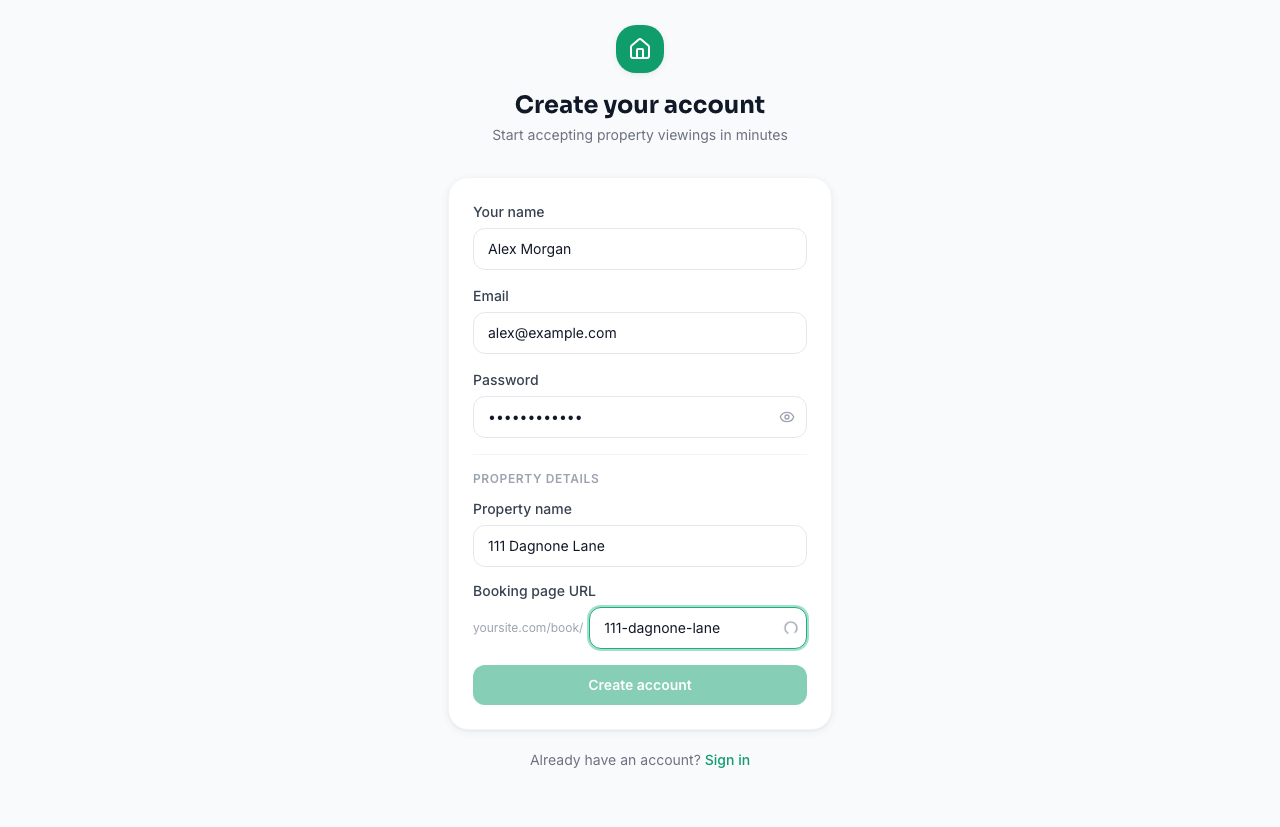
1. Create your account
Sign up with your email, a password, and your property's name. Rentquill creates your first property automatically and takes you straight to its dashboard — there's no separate "setup wizard" to get through first.
2. Complete your profile
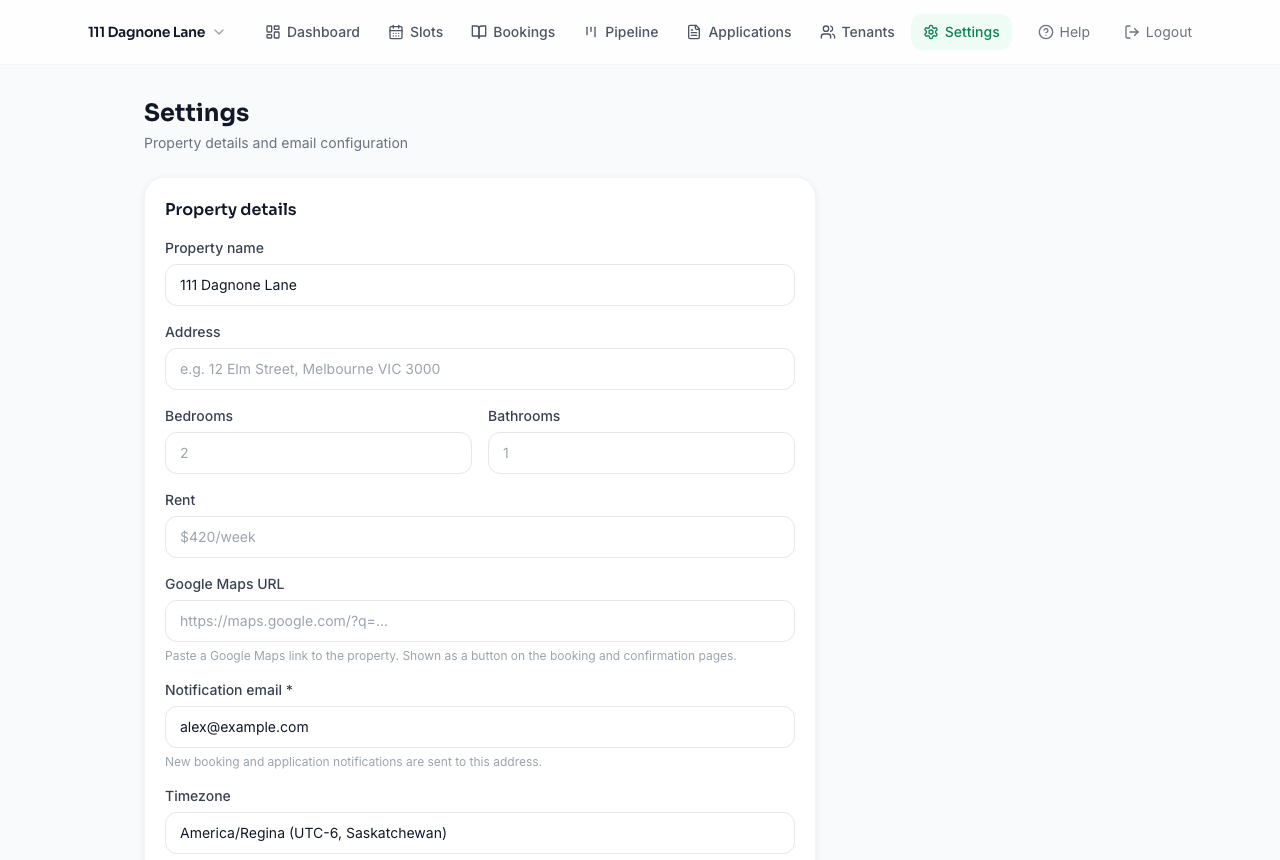
Open Settings from the dashboard nav. Fill in your property's address, admin/notification email, and time zone. Your notification email is where booking alerts, applications, and payment notices are sent, so make sure it's one you check.
3. Add your first property
You're already inside your first property's dashboard right after signup — the checklist below and your booking link are both waiting for you.
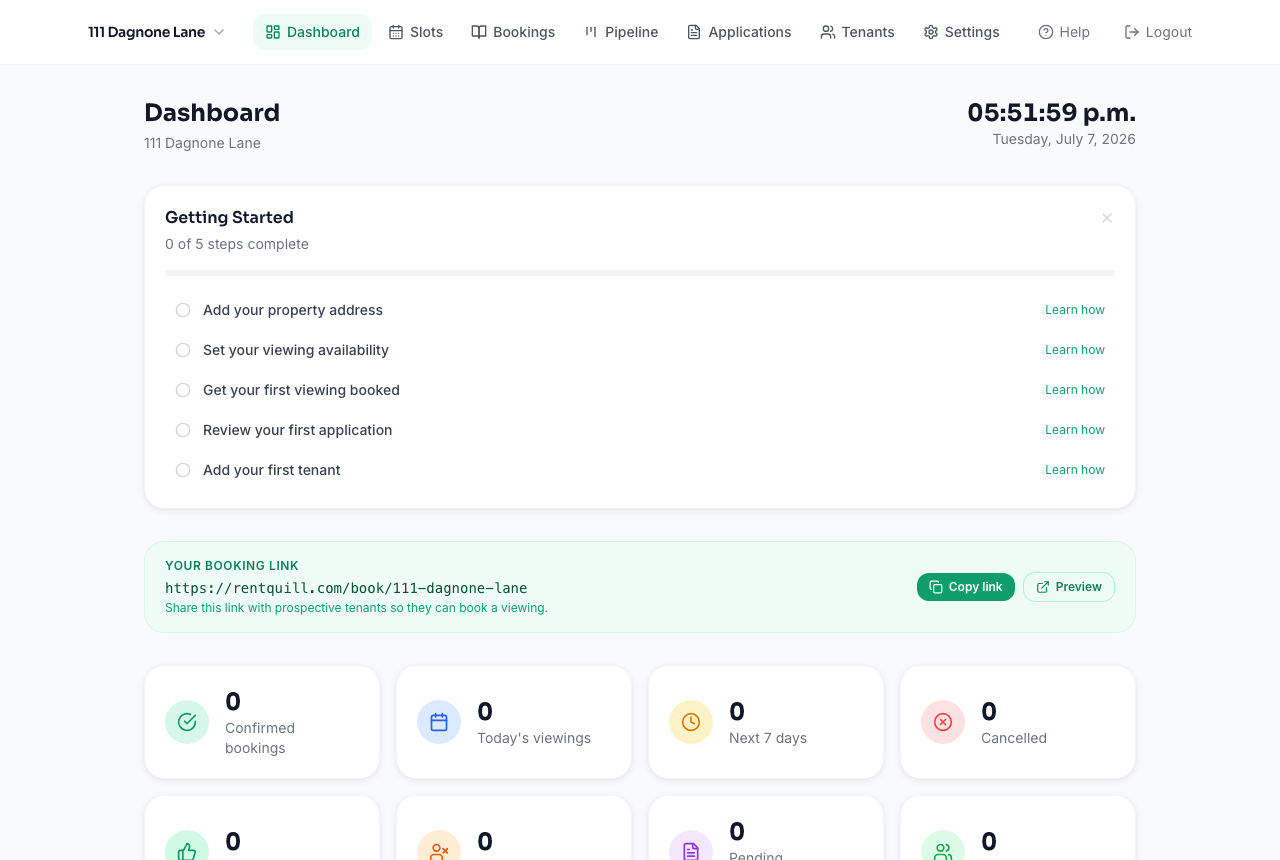
To manage more than one property, use the property switcher at the top-left of the dashboard and choose Add property. Each property gets its own booking page, slots, tenants, and settings.
4. Configure property settings
Still in Settings, set up:
- Rent due day and reminder timing (under Tenant Settings), if you'll be tracking tenants and rent
- Default recurring charges (utilities, parking, etc.) that should appear on every invoice
- Payment instructions shown to tenants on their invoices
5. Create your first booking slot
Go to Slots and add time windows when prospective tenants can book a viewing. You can add slots one at a time or generate a recurring weekly schedule.
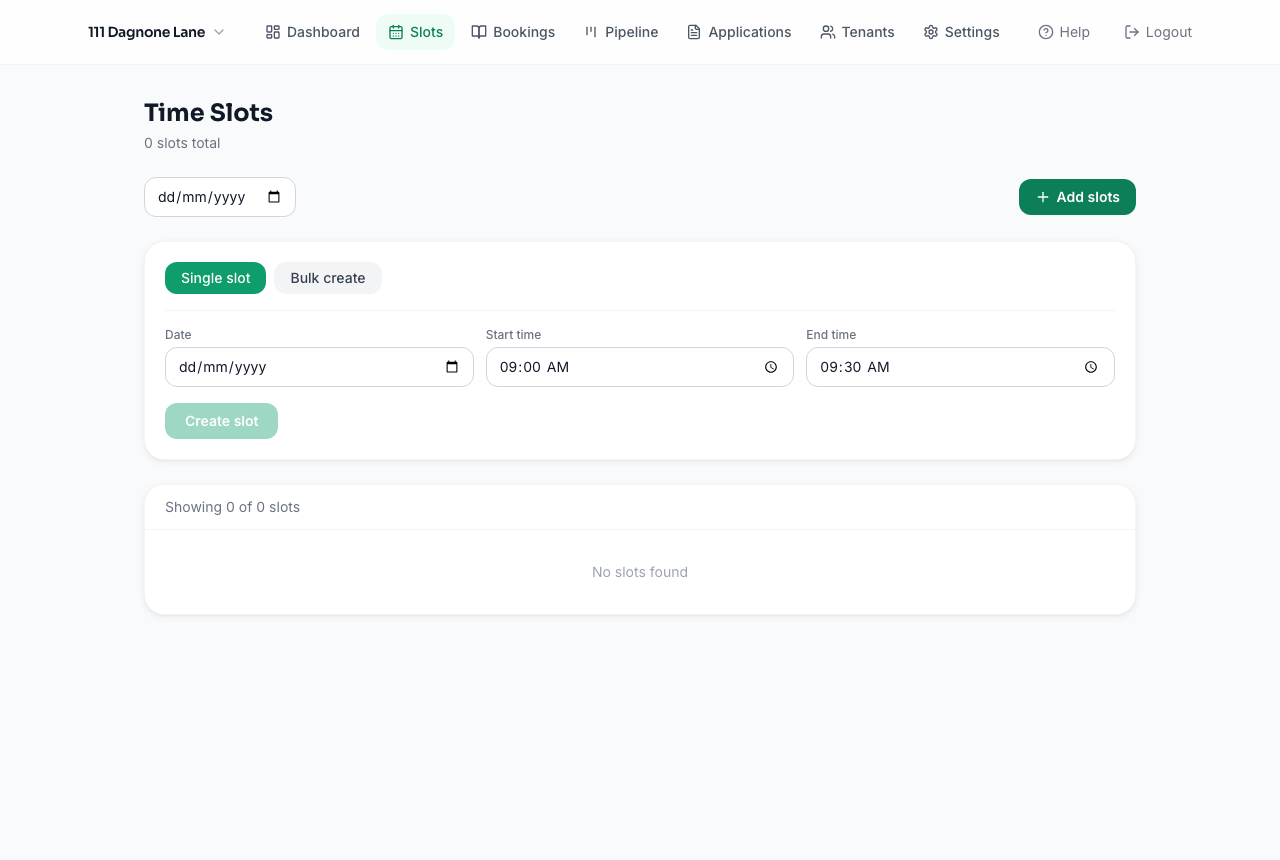
Once you have slots, share your booking link (shown on the dashboard) with prospective tenants — they can book a viewing 24/7 without back-and-forth emails.
6. Manage bookings and guests
New viewings appear under Bookings. From there you can confirm, cancel, mark interest (interested / not interested / no-show), and jump straight to a guest's rental application once they've applied.
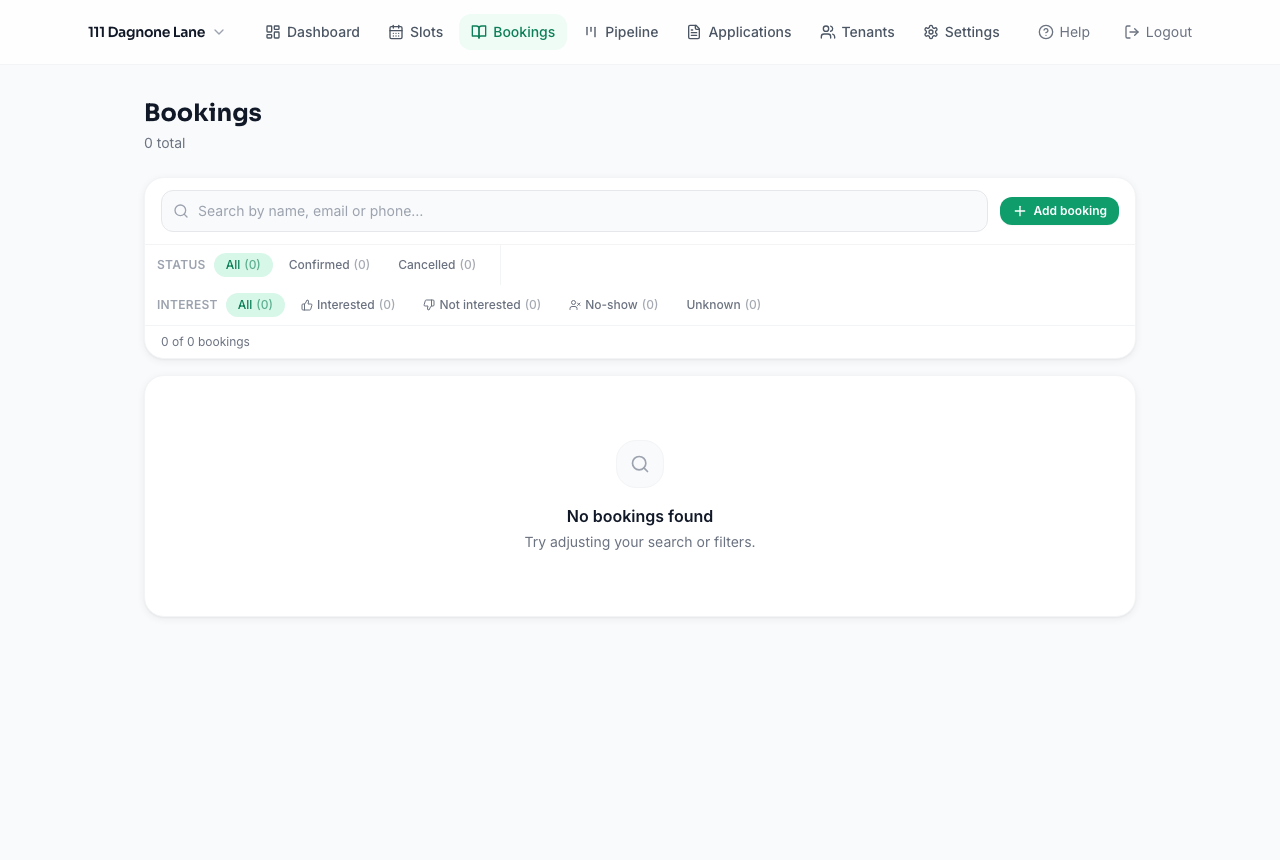
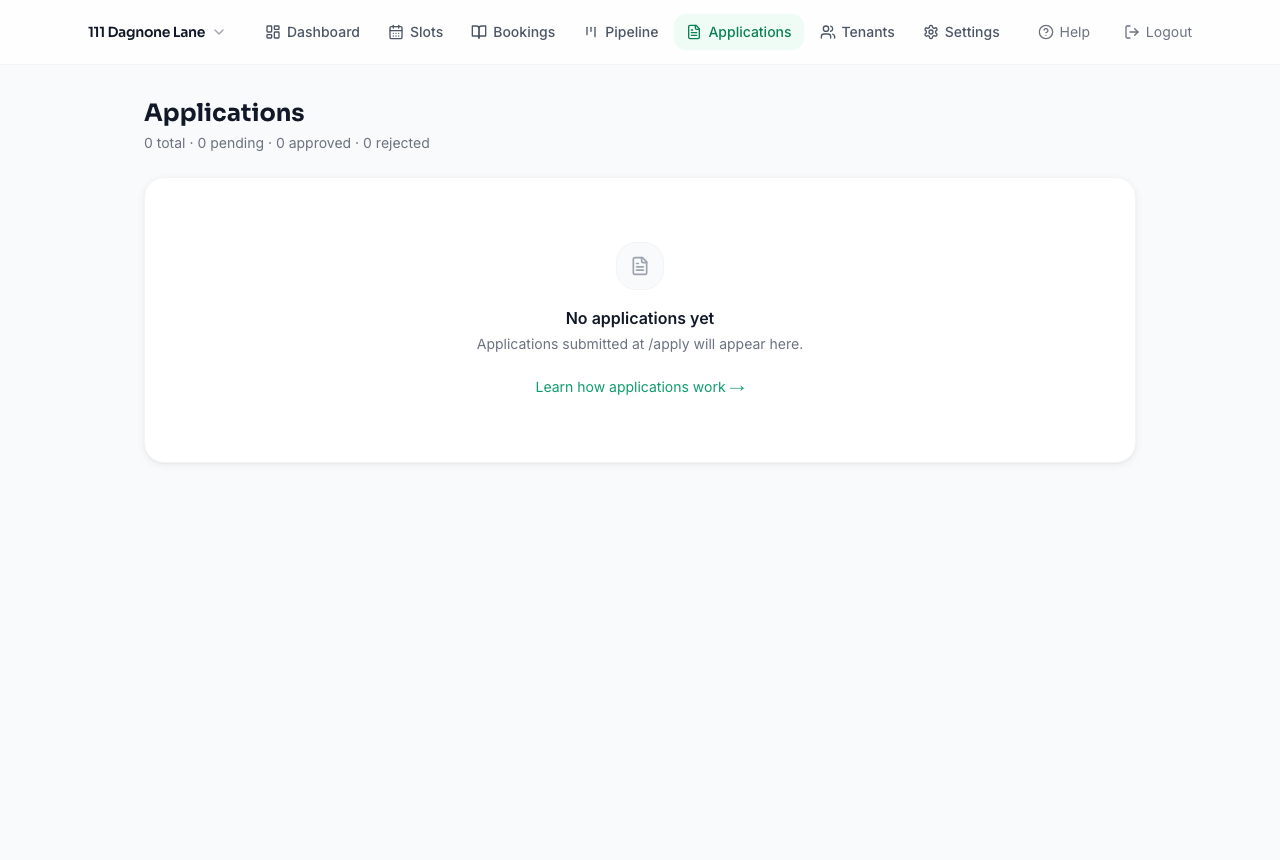
The Pipeline view gives you a Kanban-style overview of everyone from viewing through lease signing. Applications submitted after a viewing show up under Applications:
7. Where to find reports and settings
- Dashboard — booking stats, conversion rate, and tenant/rent overview at a glance
- Applications — review and approve/reject rental applications, send leases for e-signature
- Tenants — active tenants, rent payment history, maintenance requests, lease renewals
- Settings — property details, tenant/rent configuration, email templates, and the danger zone for removing a property
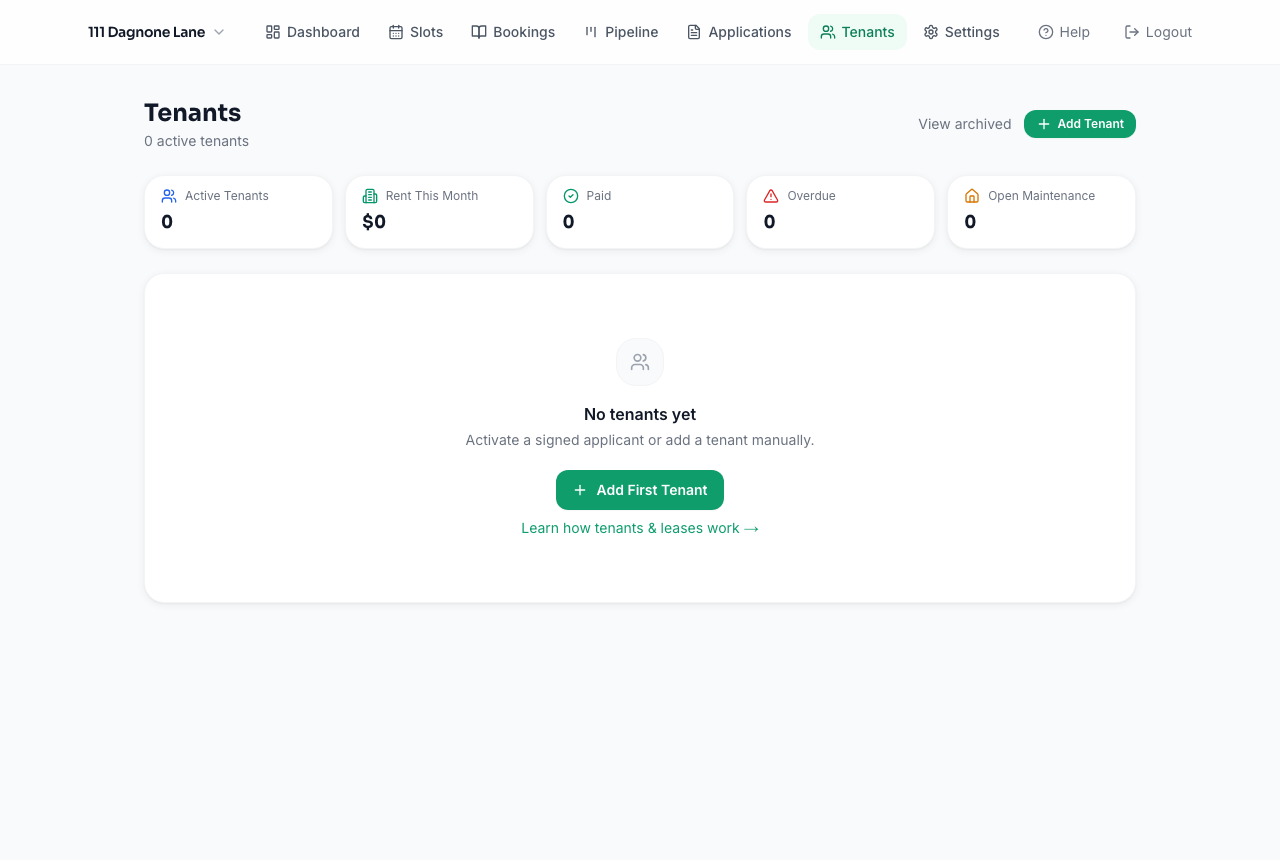
That's the whole loop. Most landlords only touch Slots and Settings once, then spend their time in Bookings, Applications, and Tenants day to day.